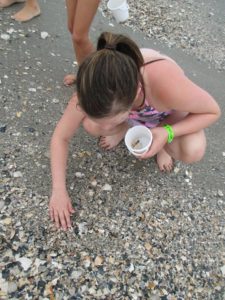
Your summer vacation is over but you’ve still got half a bucket of shells tucked away somewhere, right? These found beach treasures don’t need to take up space until you toss them in the garbage while packing for your first beach visit of 2018. Tilghman Beach and Golf Resort will be posting a series of blogs in the upcoming weeks highlighting some cute and easy projects to put those shells to good use!
BUT!
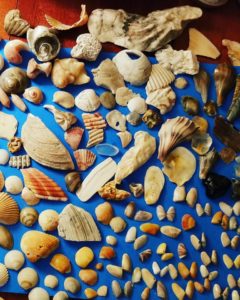
Before we get into the awesome ways you can display your stockpile of seashore findings, let’s go over some easy ways to clean them off and shine them up!

Hopefully, before you’re headed home from your time at the beach, you made sure that your shells were free of algae, barnacles and any animal tissue. After a few days shells with any living organisms still attached to them will surely let it be known by starting to smell rather foul, especially if they got forgotten in the hot trunk of the car or the pocket of a child’s swimsuit. One of the best and easiest, yet time consuming ways to rid your shells of previously living tissue is to bury them! Just find an area in your backyard that you don’t mind digging up and bury your collection in a hole about 18” deep (deep enough so that pets and wild animals will not be able to get to them). Let the shells remain for a few months and let insects, worms and nature do all the work! If this option isn’t possible you can also boil your shells in a pot of water on the stovetop for several minutes, remove carefully with tongs, and clean by hand. Be sure to wear dishwashing gloves or hold each shell using a towel to prevent scorched fingertips.
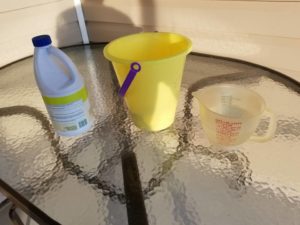
Once all previously live tissue has been removed, or if you only had uninhabited shells to begin with, you will want to soak them in a 50/50 solution of bleach and boiling water. We recommend letting your shells sit at least overnight, though some people prefer to give the diluted bleach up to a week to set in. If your shells were alive when you collected them, make sure to let them soak until the flaky leathery covering, known as periostracum, has come off. Once this is done, you can carefully give your sea treasures one final rinse with tap water before individually setting them out to dry on a paper towel.
Other finishing tips:
-If there are any barnacles or similar objects left on any of your shells use a toothbrush, dental pick or firm paintbrush to gently remove them.
-If your seashells have any chips or rough edges a file, rotary grinder or a Dremel can be used with caution (and parental supervision!).
-To bring out the colors and natural luster of your shells wipe each one down with baby oil and/or lightly spray with acrylic clear coat, which can be found at any craft or hardware store.
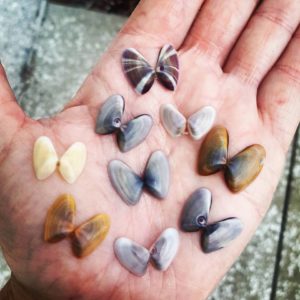
We would also LOVE to see what you have done with all the mussel, coquina, abalone and conch shells that your family collected during your stay with us and turned into works of art once you got home! Email any pictures you may have along with a brief description of how your project was put together to Rosie, our Activities Director at Activities@Tilghmanresort.com.